The spalled concrete joint repair preparation and installation process when using semi-rigid or sand-modified semi-rigid repair materials is not unlike the initial joint filling process. It’s important to create clean, vertical edges at the outside of the joint repair to allow the repair material to bond to the joint walls and to clean the joint to the nominal depth of the original sawcut so the repair material has a structural base of support.
This is part of a three-part series on spalled concrete joint repair. I cover repair material type selection in Part 2 and the causes of concrete joint deterioration in Part 1.
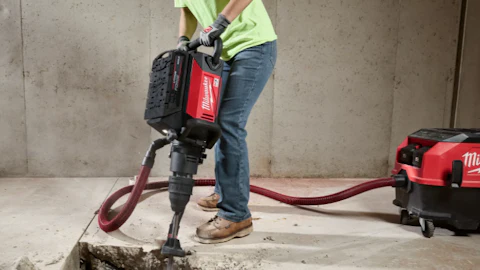
Proper preparation of a joint to be filled requires that the joint sidewalls be mechanically cleaned using a diamond concrete blade on a walk behind concrete saw equipped with a HEPA dust collection system. The joint preparation process should remove all dirt, debris, saw cut laitance, etc. and through mechanically abrading the joint walls should remove any curing compounds or densifiers that flowed into the joint. A clean or “white” concrete along the joint walls is critical for proper joint filler adhesion.
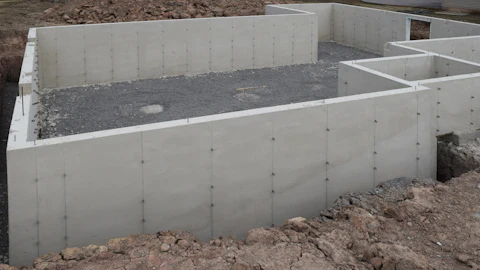
 A concrete joint widened for structural repair. Metzger/McGuire
Inherently weakened or “raveled” joint edges from improper saw cutting timing or defective saw blades lead to compromised joint edge integrity and a greater likelihood of joint edge deterioration if not addressed before joint filling. This issue has become more common recently as Type 1L and other carbon-friendly cement replacements have been rolled out to the concrete industry.
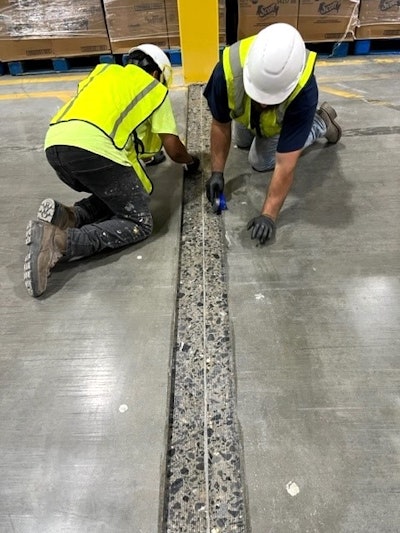
 Application of a semi-rigid aggregate to a concrete joint for repair. Metzger/McGuire
These newly formed joint walls do not have to run to the full depth of the joint, but most repair material manufacturers call for a depth of 1/2 - 3/4 in. to allow for the filler to have sufficient sidewall contact to bond to and to more effectively key in the repair material.
The result of this joint preparation will be an elongated “T” shape in which to place the filler. As with new joint filler installation, the filler is slightly overfilled and the overfill razored or ground off to leave a seamless, flush profile across the floor. When using semi-rigid joint fillers — modified or not — there is no need to re-sawcut the repair to re-honor the existing joint, as semi-rigid materials will not restrain slab panels and will still separate or tear if excessive joint opening occurs.
 Metzger/McGuire
In joint repairs with existing semi-rigid joint filler installed — such as a joint exhibiting substantial joint filler separation or a joint where the filler profile was low and exposed joint edges — it is sometimes possible to cut or “mill” out the top 1/2 in. of the filler and use some of the initial filler as a base for the semi-rigid repair material. This is only possible where the initial filler was installed to the proper depth, remains intact and well bonded to the joint base, and is sufficiently rigid and comparable in hardness to repair material.
 Metzger/McGuire
 Metzger/McGuire
 Metzger/McGuire
If the structural repair material flows into the contraction or construction joint, it can restrain the movement of the two slab panels and can lead to tearing or cracking of the panels if movement occurs. The best way to avoid this is to fill the existing joint with sand up to the level of the newly formed shelf.
 Metzger/McGuire

Once this new joint is cut, fill it with a semi-rigid filler to protect the repair material joint edges and ensure the slabs are not restrained.
It's important to recognize that when it comes to any building facility, the concrete floor is the literal worksurface for the entire operation. The longer maintenance or repair is deferred, the more complex and costly the repairs become.
As long as floors have joints, the proper treatment and maintenance of those joints will continue to be critical in ensuring the long-term serviceability and durability of the facility, its operational productivity, and its safe operation.
This was part 3 of a three-part series on spalled concrete joint repair. Check out part 1, "Understanding Spalled Concrete Joints" and Part 2, "Spalled Concrete Joints Repair: Material Selection."